Tuesday, September 30, 2014

Towards Better Tone

Living in Australia as I do, I have little exposure to the work of other guitar builders, and I sometimes feel I'm working in a vacuum, with very few opportunities to compare my own instruments with those of other builders. In fact, here on the west coast, I'm isolated even by Australian standards.

Practice makes perfect where fit and finish are concerned, and even without access to the work of other builders, I find it's easy to critically evaluate my own workmanship, identify areas where there's scope for improvement, and develop a strategy to address shortcomings. Personally, however, I find that making progress on the all-important tonal considerations is as easy as wading through mud. 

Part the problem, perhaps, is that there's no universally understood vocabulary when it comes to describing tone and, even if there were, correlating the complex properties of tone with the physical characteristics of the guitar's structure is problematic given that the individual elements behave as a single entity once the parts become a whole. The best I've been able to achieve is to slowly develop the courage to lighten my soundboard bracing.as much as I dare, in the hope that all will be miraculously revealed in a flash of inspiration. I'm still waiting.

So, fellow builders, what's the path to tonal nirvana? How do you evaluate your instruments' tone, how do you describe it, and what steps are you taking with a view to making better sounding instruments? And what does that even mean, given that we all hear things differently?

Cheers
Pete

Sunday, September 28, 2014

A Neck Takes Shape

There are aspects of guitar building I don't particularly look forward to, but they are a necessary part of the whole, without which the finished product could not exist.


Along with carving the soundboard braces, shaping the neck is surely one of the more enjoyable tasks. What the two processes have in common is that hand tools are a necessary part of the equation, and success is dependent upon intense concentration and an elevated sensory awareness. I could concede that there's a lesson to be had from that observation and attempt to lessen my reliance on power tools and machinery, but the sad fact is that I acknowledge my limitations and accept that for many steps I really do need mechanical assistance!


How about you, fellow builders? What are the best and worst parts of the guitar building journey for you? 

Cheers
Pete

Monday, September 22, 2014

DIY Guitar Finishing

Living in Australia, I don’t share the luxury of access to a specialist finisher such as Joe White or Addam Stark, and I can’t avoid the time-consuming job of pore-filling, sealing and applying finish top-coats myself. Would I farm my finishing out if that option was available to me? I have to say, I’m really not sure.

As a hobby builder, I don't impose deadlines on myself, nor do I have impatient customers eagerly awaiting progress updates; the time I spend finishing my instruments therefore doesn't weigh too heavily on me. As the standard of my finishes has improved over time, my enjoyment of this part of the process has increased significantly; what was once an onerous task has now become just another series of steps along the way to completing a guitar. The final result relies less and less on chance as my tally of completed guitars grows. In fact, there’s a great sense of satisfaction at having done the hard yards, and in acknowledging that I've gone a long way towards negotiating the learning curve inherent in producing a professional standard of finish.


KTM-SV over Sitka Spruce
Those of you who have followed my blog will know that I've been pretty happy finishing recent guitars with Grafted Coatings’ KTM-SV, a water-based oil-modified urethane. While I’m more than satisfied with the end results I've been able to achieve, I'm deterred by the horrendous shipping charges from the U.S., and the fact that its adhesion over shellac is less than satisfactory. The Ilva two-pack sealer I'm forced to use is nasty stuff, which largely defeats the purpose of using a safe, environmentally-friendly water-based finish, and adds to the already prohibitive cost. As a result, I’m forever on the look out for new products, knowing that what’s on the market is constantly evolving and improving, particularly where water-based products are concerned. Grafted Coatings' recently developed water-based finish material, Ten!, has received great reviews from the few who have trialed it, and I'm keen to hear further reports when it's eventually in widespread use. As the release date is unknown, I'm about to experiment with another product that's new to me. 

Bona Mega is a water-based polyurethane interior floor finish recommended to me by a well known and very well-regarded U.S. luthier, who is himself an ex-KTM-SV user. In case there's a negative bias towards using a floor finish on a guitar, I won't name him. Suffice to say that the standard of his finishes has drawn glowing praise from those attending guitar shows in which he's been a participant. The advantage of Bona Mega for me is that it's readily available locally, and supposedly demonstrates excellent adhesion over a simple shellac seal coat, something that can't be said for KTM-SV. Bona Mega is expensive, but I'll avoid the shock of the shipping charges I pay when I purchase products from the U.S., and benefit from the fact that it bonds well with shellac.

I’m comforted by the fact that some of our more experienced and admired U.S.-based luthiers have also chosen the DIY route, despite the fact that they have access to the aforementioned specialist finishers, and I'm pleased to note that a growing number of them are prepared to use alternatives to the traditional nitrocellulose lacquers and the modern, more robust polyesters. Most importantly, it seems that the players willing to outlay large wads of their hard-earned cash on a hand-made instrument are becoming more knowledgeable and less bound by convention, and are slowly accepting these alternatives even if it means that their prized instruments are slightly more susceptible to damage because of it.

How about you, fellow builders? Do you undertake finishing work yourself? If so, what's your finish product of choice?

Product links:
Bona Mega
Grafted Coatings Ten!

Cheers
Pete

Sunday, September 21, 2014

More Headstock Binding

Preparing the strips of ebony binding for the headstock can be accomplished gradually in spare moments through the working week, with the more time-consuming task of routing the binding channels, then mitering and installing the strips reserved for a more concerted effort over a weekend. I could probably find time to fire up the laminate trimmer and disc sander on a weeknight, but in a residential setting with neighbours living on either side I figure I'd be pushing my luck. In the interests of suburban harmony, it's probably a wise policy not to disturb them. Note to self: find a quieter shop-vac!

A long-term plan involves leaving the city behind, one of the benefits being that I'll be able to use power tools with far less regard for the noise they generate, comfortable in the knowledge that I'll only be disturbing the local bushland creatures and my patient partner Sandi. Oh, and our chickens of course!


As I described in an earlier post, I find that the tight curve at the extremity of the headstock is best dealt with by thinning the ebony strips to half the required width, then bending them to shape on the bending iron and laminating them into a single full-width piece, with a maple veneer added to what will be the inner surface. Once they're glued in place, it takes a very close inspection to establish that I've used two layers of ebony. Under finish, I'm confident that it will be undetectable.

This is one of many painstaking stages in the construction process, with fabrication of the curved binding strips, then accurate mitering and gluing of each piece adding the best part of a day to the build process, acknowledging that if I was better organised I could be attending to other tasks while I wait for glue to dry. Despite the additional work involved, this treatment of the headstock brings me great satisfaction, assuming of course that everything goes to plan and I'm happy with my workmanship. When I tire of the process, I remind myself that it undoubtedly contributes greatly to the overall aesthetic appeal of the finished instrument. It's just as well I don't build guitars for financial reward however.

Cheers
Pete

Saturday, September 20, 2014

Recent Wood Purchases

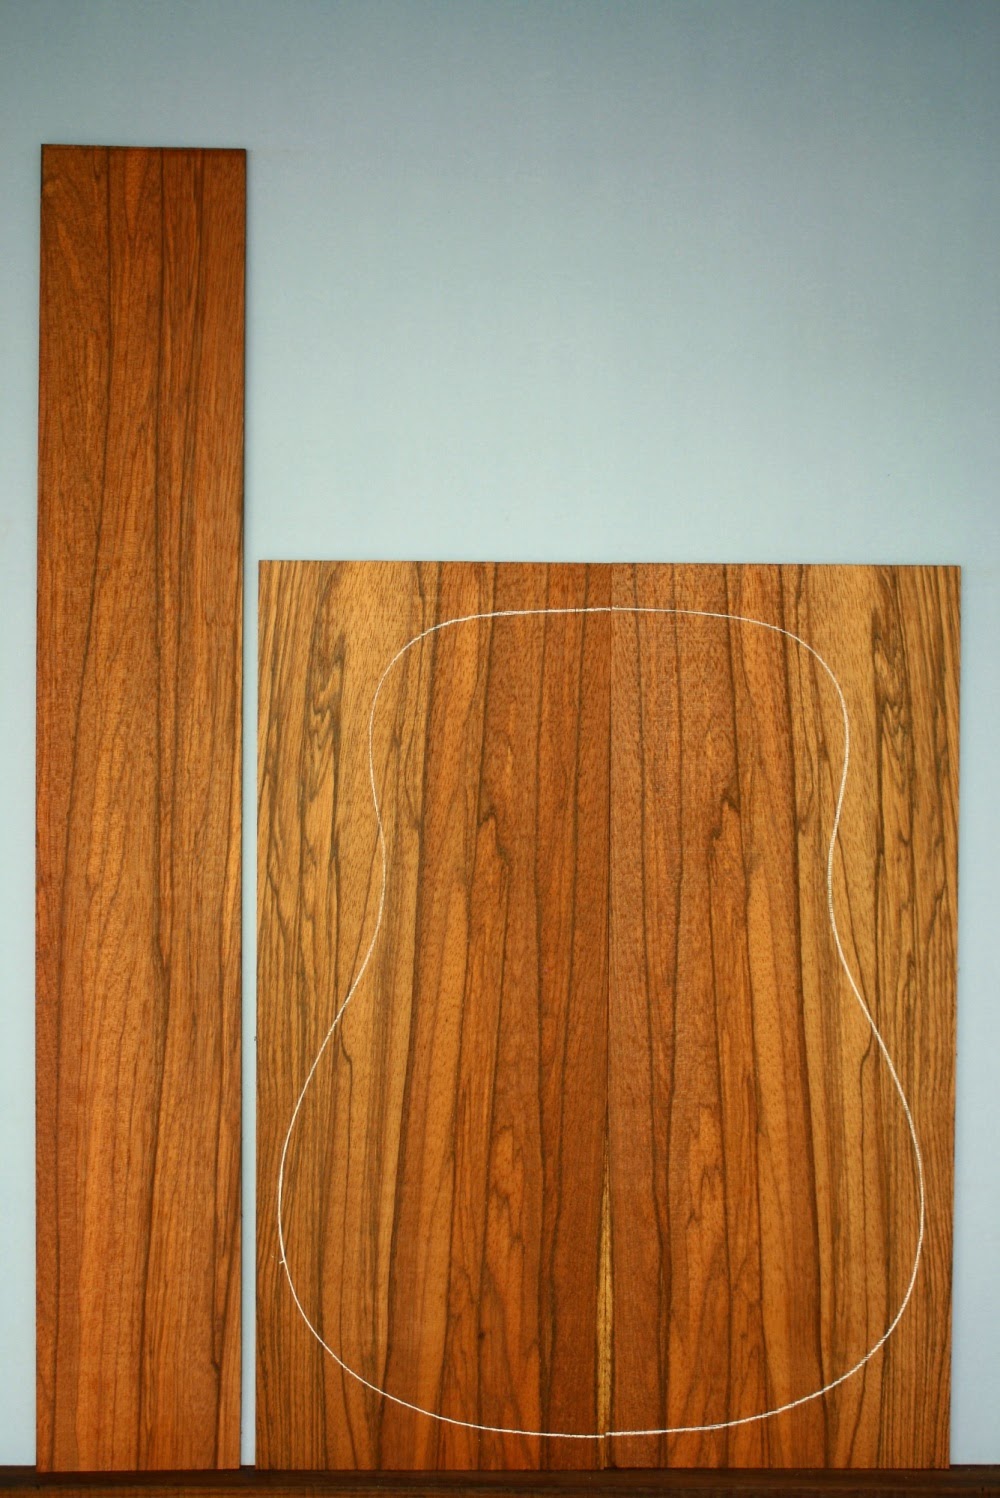
My heart beats a little faster when I look at wood like this. Wood lovers will understand!


And what better wood to pair these Sinker Redwood soundboards with than this beautiful Claro Walnut.:


Given my dismal rate of production, it would seem that I now have enough wood to last me well into old age!

Supplier links:
Allied Lutherie
Oregon Wild Wood

Cheers
Pete

Tuesday, September 16, 2014

What's Your Favourite Back and Sides Wood?

I've placed a poll in the sidebar that allows you to vote for your favourite back and sides wood species. I think I've covered the usual suspects, but I'm sure I've omitted some other popular choices! If you voted "Other", perhaps you'd be good enough to add a comment to this post to let everyone know what it is. I'd also welcome your comments as to what particular characteristics you feel your favourite species offers.

Cheers
Pete

Saturday, September 13, 2014

Finishing Necks - a New Approach

I've been keen to try a new approach where finishing necks is concerned, and have opted to experiment with some oil finish products on a couple of the necks I'm currently constructing. Gloss finishes certainly look classy, but many players express a preference for a matte or satin neck finish that doesn't "grab", as some gloss finishes are prone to do.

Like many other aspiring builders, I finished my first couple of guitars with Birchwood Casey's Tru-Oil. It's easy to apply, relatively benign, and seems impervious to moisture once cured. What's more, it's readily available locally - always a plus for someone like me, living in far-away Australia. I recall reading of tests that showed it doesn't penetrate the wood surface deeply, which adds to its appeal for those builders unwilling to make the leap into sprayed or french polished finishes.


Despite Tru-Oil's attractions, I've recently investigated some alternatives and purchased small quantities of the products pictured above. A local gunsmith told me preferred the Livos product rather than Tru-Oil, and I've read reports by builders in the solid-body electric world who have used the Osmo product with great success. I guess it's best that I find out for myself!

The manufacturers' web sites describe how each of these products penetrate the wood and dry within it, rather than on top of it as Tru-Oil does. If I was finishing the body of an instrument, this would ring alarm bells - particularly where the soundboard is involved - but where necks are concerned, I'm not at all worried about the oil penetrating the wood surface; in fact, to my mind, this characteristic could offer advantages. Although I'm not expecting significantly different outcomes, I plan on trialing each of the two finishes to satisfy my curiosity once and for all.

As a nod to convention, I'll spray a gloss finish on the headstock face and the heel cap before I fine-sand, then oil, the remainder of the neck.

Product links:
Birchwood Casey Tru-Oil

What's In a Name?

The back and sides of this guitar are of narra, which is an alternative name for a wood that's most often marketed here in Australia as ...