Sunday, September 21, 2014

More Headstock Binding

Preparing the strips of ebony binding for the headstock can be accomplished gradually in spare moments through the working week, with the more time-consuming task of routing the binding channels, then mitering and installing the strips reserved for a more concerted effort over a weekend. I could probably find time to fire up the laminate trimmer and disc sander on a weeknight, but in a residential setting with neighbours living on either side I figure I'd be pushing my luck. In the interests of suburban harmony, it's probably a wise policy not to disturb them. Note to self: find a quieter shop-vac!

A long-term plan involves leaving the city behind, one of the benefits being that I'll be able to use power tools with far less regard for the noise they generate, comfortable in the knowledge that I'll only be disturbing the local bushland creatures and my patient partner Sandi. Oh, and our chickens of course!


As I described in an earlier post, I find that the tight curve at the extremity of the headstock is best dealt with by thinning the ebony strips to half the required width, then bending them to shape on the bending iron and laminating them into a single full-width piece, with a maple veneer added to what will be the inner surface. Once they're glued in place, it takes a very close inspection to establish that I've used two layers of ebony. Under finish, I'm confident that it will be undetectable.

This is one of many painstaking stages in the construction process, with fabrication of the curved binding strips, then accurate mitering and gluing of each piece adding the best part of a day to the build process, acknowledging that if I was better organised I could be attending to other tasks while I wait for glue to dry. Despite the additional work involved, this treatment of the headstock brings me great satisfaction, assuming of course that everything goes to plan and I'm happy with my workmanship. When I tire of the process, I remind myself that it undoubtedly contributes greatly to the overall aesthetic appeal of the finished instrument. It's just as well I don't build guitars for financial reward however.

Cheers
Pete

Saturday, September 20, 2014

Recent Wood Purchases

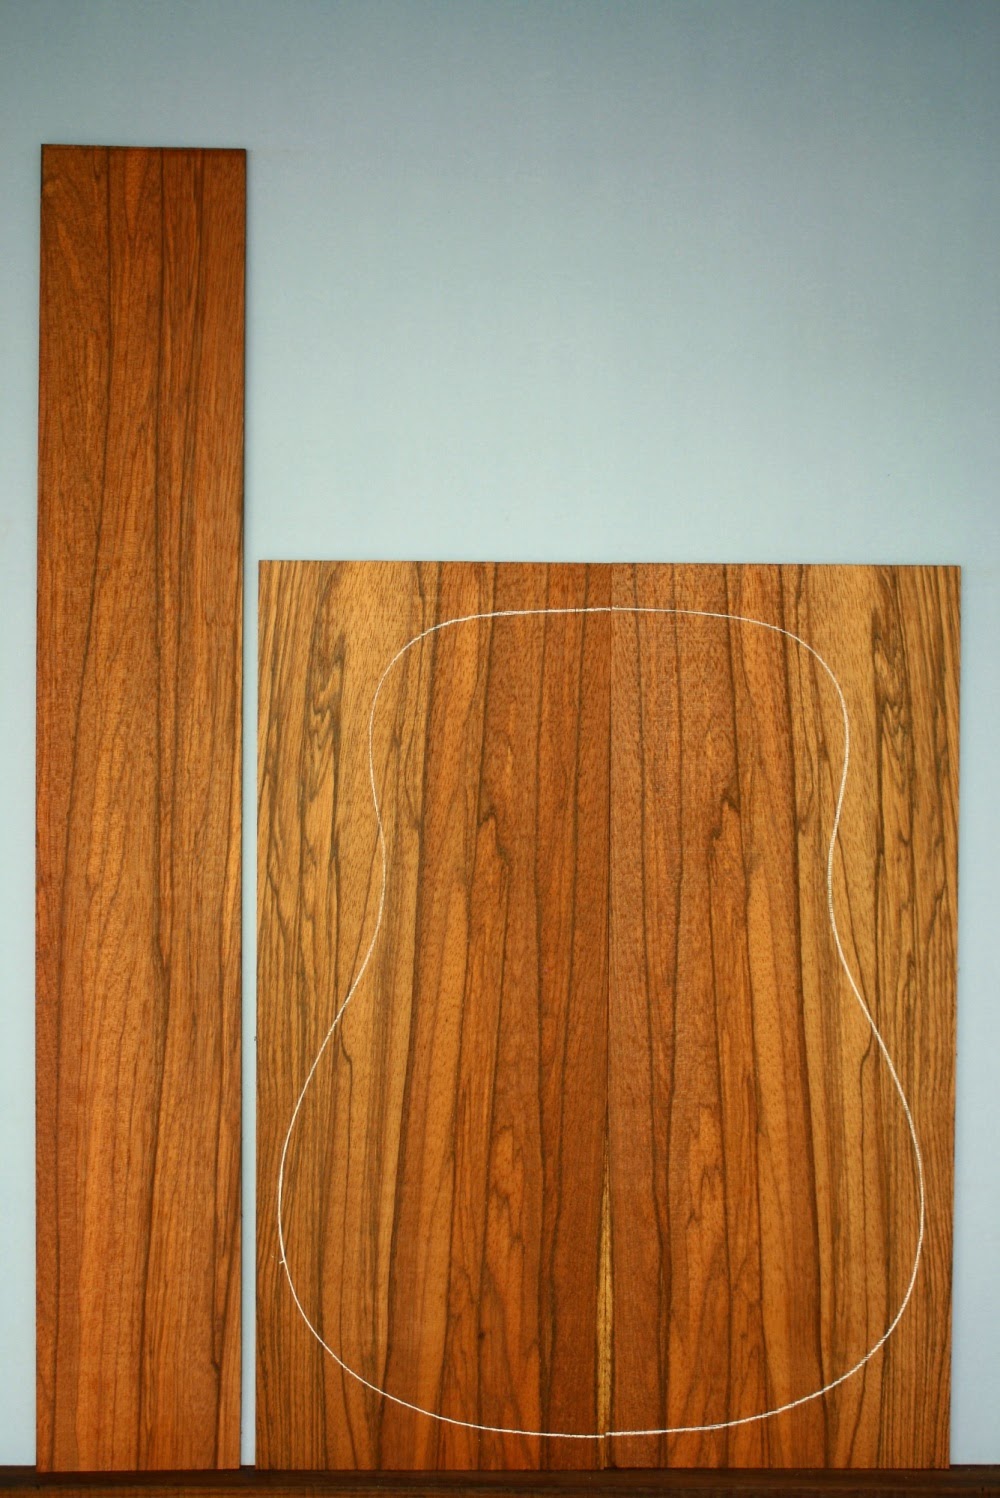
My heart beats a little faster when I look at wood like this. Wood lovers will understand!


And what better wood to pair these Sinker Redwood soundboards with than this beautiful Claro Walnut.:


Given my dismal rate of production, it would seem that I now have enough wood to last me well into old age!

Supplier links:
Allied Lutherie
Oregon Wild Wood

Cheers
Pete

Tuesday, September 16, 2014

What's Your Favourite Back and Sides Wood?

I've placed a poll in the sidebar that allows you to vote for your favourite back and sides wood species. I think I've covered the usual suspects, but I'm sure I've omitted some other popular choices! If you voted "Other", perhaps you'd be good enough to add a comment to this post to let everyone know what it is. I'd also welcome your comments as to what particular characteristics you feel your favourite species offers.

Cheers
Pete

Saturday, September 13, 2014

Finishing Necks - a New Approach

I've been keen to try a new approach where finishing necks is concerned, and have opted to experiment with some oil finish products on a couple of the necks I'm currently constructing. Gloss finishes certainly look classy, but many players express a preference for a matte or satin neck finish that doesn't "grab", as some gloss finishes are prone to do.

Like many other aspiring builders, I finished my first couple of guitars with Birchwood Casey's Tru-Oil. It's easy to apply, relatively benign, and seems impervious to moisture once cured. What's more, it's readily available locally - always a plus for someone like me, living in far-away Australia. I recall reading of tests that showed it doesn't penetrate the wood surface deeply, which adds to its appeal for those builders unwilling to make the leap into sprayed or french polished finishes.


Despite Tru-Oil's attractions, I've recently investigated some alternatives and purchased small quantities of the products pictured above. A local gunsmith told me preferred the Livos product rather than Tru-Oil, and I've read reports by builders in the solid-body electric world who have used the Osmo product with great success. I guess it's best that I find out for myself!

The manufacturers' web sites describe how each of these products penetrate the wood and dry within it, rather than on top of it as Tru-Oil does. If I was finishing the body of an instrument, this would ring alarm bells - particularly where the soundboard is involved - but where necks are concerned, I'm not at all worried about the oil penetrating the wood surface; in fact, to my mind, this characteristic could offer advantages. Although I'm not expecting significantly different outcomes, I plan on trialing each of the two finishes to satisfy my curiosity once and for all.

As a nod to convention, I'll spray a gloss finish on the headstock face and the heel cap before I fine-sand, then oil, the remainder of the neck.

Product links:
Birchwood Casey Tru-Oil

Sunday, July 27, 2014

The World's Longest Apprenticeship

As I look forward to resuming work on the three guitars I'm currently constructing, it's sobering to reflect on my guitar building progress so far, and just how long it's taken me to get where I am. It's timely to do so given that I've at last attained a level of confidence that will allow me to offer my instruments for sale. I sold a few of my early efforts many years ago, but like so many beginning builders, I was probably too eager to do so, not quite comprehending the risks involved and the potential for conflict with disgruntled customers. Fortunately, those guitars haven't returned to haunt me; in fact, one of those old customers contacted me not so long ago to tell me he how much he still loves the guitar I built him. What a pleasant surprise! 

"I can see the progress you have made in the time elapsed since creating my guitar but there's still no denying what a great little instrument my guitar is - I am still trying to do it justice with my playing - which has not progressed on parallel terms with your luthier skills. I would not hesitate to recommend any player interested in a custom guitar to you and if I thought you were willing to take orders for sales I would be very happy to be more proactive in that regard."

Finding a finish material I could apply safely and to a satisfactory standard has been a hurdle I feel I've at last negotiated, and as I look ahead with visions of reducing the hours I spend in a "normal" job, I have high hopes that the sale of my guitars can at least supplement my income and give me a creative outlet.

I first became interested in guitar building in the mid 1980s, but in those pre-internet days here in Australia, I found it almost impossible to accumulate the knowledge I craved, let alone locate anyone who could pass on their skills in person. I can't remember how, but at some point I managed to find a copy of Irving Sloane's book "Classical Guitar Construction" which I read and re-read many times over. Shortly thereafter, while backpacking through Canada, I was excited to spy Tom and Mary Evans book, "Guitars: From the Renaissance to Rock" which, although short on information relating specifically to guitar construction techniques, was a worthy addition to my sparse reference library.

Quite by accident, as I explored Vancouver I came across Richard's Rare Guitars, where a staff member was kind enough to phone Jean Larivee and seek permission for me to visit his North Vancouver workshop which was within easy walking distance. I found Jean very welcoming, and he was good enough to allow me to sort through an enormous pile of Sitka Spruce soundboards at the front of his shop. My backpacker's budget was pretty tight, but I selected five tops (at $25 each from memory!), not really knowing what features I should be looking for, but feeling incredibly excited to have at last found the materials that would help me get started on what has turned out to be a protracted self-imposed apprenticeship. Between the Spruce tops and the books I bought in Canada, I was quite heavily laden for the remainder of my overseas trip!

Fast forward to today, and the wealth of books, online resources and lutherie schools is overwhelming - I guess I was born too early. I feel incredibly lucky to have an interest in common with so many other individuals who so generously share their skills, knowledge and techniques. The online community, including the various guitar forums, is a fantastic resource both as an opportunity to learn from others, and as a means of sharing our creations.

Hopefully, I'll have something other than idle thoughts to share with you soon!

Cheers
Pete

Thursday, May 15, 2014

Rosewood/European Spruce Mod OM Progress

I was building up some momentum with my guitar-building adventures until recently, but a short overseas holiday and an impending interstate trip are temporarily slowing progress. Nevertheless, I have at least managed to attach the top on my East Indian Rosewood/European Spruce guitar, and have make good progress with the neck.


More soon!

Cheers
Pete

Friday, April 4, 2014

A Workshop Update

With IT work in short supply, I've been "forced" to dedicate much more time to guitar building over the past couple of months. Well, I'm not really complaining!

It stands to reason, of course, that spending more time in the workshop will increase my output. Nevertheless, I've been pleasantly surprised by my rate of progress as my current guitar projects take shape. With the luxury of two days a week dedicated to building - and thinking about building - I've been able to make significant inroads into these three guitars, as well as identify a couple of steps in the build process that I feel could benefit from further thought and refinement. As usual, the next guitar will be better!

European Spruce/East Indian Rosewood
The guitar pictured above features a European Spruce soundboard, and a very attractive set of East Indian Rosewood back and sides. The florentine cutaway is only the second one I've attempted, and although it represents more work and an increased degree of difficulty, I'm satisfied with the way it's turning out.

Port Orford Cedar/Claro Walnut
The Port Orford Cedar/Claro Walnut guitar featured in recent posts is waiting in the queue, with the body ready for binding and work on the neck largely complete. I'm quite pleased with a new design flourish I've implemented on the heel cap. The "scoop" evident on the heel itself is another new development; the goal being to echo the aesthetics of the headstock and fretboard end in an attempt to tie these elements together from a design perspective. The photographs show these details, with final shaping and sanding yet to be completed, and with the heel cap unattached.

Redwood/Claro Walnut OM
This Redwood/Claro Walnut OM has been languishing in the cupboard for several months while I wait for the motivation necessary to apply the sprayed finish coats. As the other two guitars rapidly approach a similar state of completion, it's unavoidable that finishing, sanding and buffing will occupy the bulk of my time very soon. Having said that, I plan on applying an oil finish to at least one of these necks, a side-effect of which will be that the finishing process will be slightly less time-consuming than it would be otherwise. 

With storage space at a premium, I'll be strongly resisting the urge to begin another guitar until this batch is complete and - hopefully - distributed to new owners!


Cheers
Pete

Dry Sanding With Super Assilex and Super Buflex Abrasive Sheets

I put this East Indian rosewood/European spruce guitar to one side as I proceeded with my usual process of wet sanding and buffing four othe...